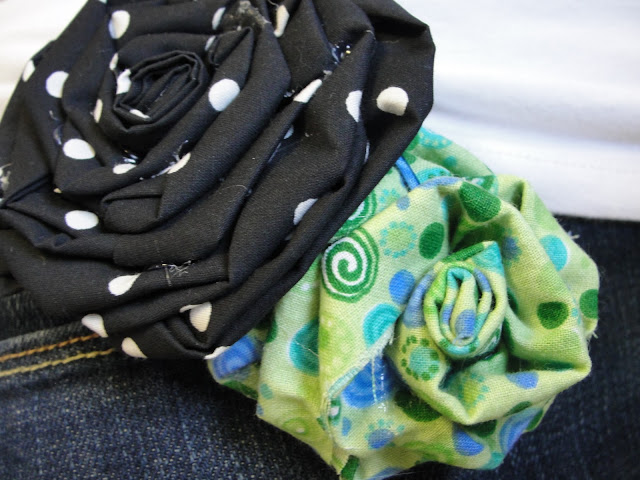
This craft was super easy on the pocket book. We asked for fabric donations and ended up with way more than we even needed. The other supplies included safety pins and hot glue. Since we were lucky enough to have a hefty stash of both in our stake young women's closet, we got by without spending a single penny. Cha Ching! Bonus: the girls looked super cute walking around camp with flowers pinned to their hats, backpacks, sweaters, etc.
Here are the instructions I provided our young women:
Flower Pins
1. Start by heating up a hot glue gun. Make sure you keep it on something that it can’t damage (there’s a trivet provided). Also, please, PLEASE don’t burn yourself! A little glue goes a long ways so, prevent dripping on yourself by using just a tiny bit. I think most of the little hot glue guns don’t heat up as hot and thus are better than the large ones!
2. Cut a long strip of fabric about 2-3” wide.
3. Fold it in half and then fold it in half again. A little hot glue can help keep it folded.
4. Roll it around itself a few times. This will be the center of your flower. Secure with hot glue.
5. Now, wrap the fabric around the roll while twisting it to form petals. After every twist, use a dab of hot glue to hold it.
6. When your flower is as big as you want it or you run out of fabric, cut a circle out of matching fabric to use as a backing. It doesn’t need to be perfect but, it should be slightly smaller than your flower.
7. Now cut two slits in the back of your circle to allow a place for your safety pin to poke through.
8. Slide the safety pin into position and then hot glue it down to the center, back of your flower
Finish it off by hot glue the edges of the circle down around the back of the flower.
Now you can pin it to sweaters, headbands, hats, jackets, purses, backpacks, etc.


No comments:
Post a Comment