Showing posts with label boy. Show all posts

G.I. Joe PartyTime!

Its birthday season around here.  I have three boys whose birthdays come in January, February, and then March. 
A very boyish Birthday cake
 I love to host birthday parties but would soon go crazy if I did three in a row every year.  Thus I began the every other year party rule.  My seven year old hit the magic mark this year and ask for a G.I. Joe party.  Being the girly, non violent gal that I am, I tried a bit to redirect him.  I was thinking more along the lines of rainbows and robots.  But, he had made up his mind and convinced me.  Not surprisingly that smarty pants was right on.  The party was a huge hit with all his little friends.  I had several parents tell me afterwards that their son came home more excited about the party than they ever have been before.

Unfortunately, this is not the year for G.I. Joe party paraphernalia   The only trademarked item I could find was the little birthday centerpiece you can see in the middle of the table.  It was being clearanced out at Oriental trading company, so at least I got it for dirt cheap.   


 So, this party turned into more of an army themed party.  Which turned out to be a great move.  There are tons of ideas on Pinterest for army themed parties and camouflage party goods are abundant. 

When the boys arrived, they each were given a Rambo style headband.  The camo head bands came from Oriental trading (along with most of the other party goods)
Then the party kids were directed to a table to make their own marshmallow shooters!
I found tons of tutorials to make these online.  Basically, they are made with 1/2 " pvc pipe and connectors.  We own a miter saw.  So, I was able to quickly slice and dice the pvc pipe into 4" and 7" sections.  We also needed T joints, L joints, and end caps.  I made a little diagram for the boys to follow.
Each piece was assigned a letter and could be found in the labeled bins.  However, most of the boys ended up freestyling their designs.  Amazingly, all of their concoctions worked just fine.  I wish I had bought a few more of the different connectors, though because the boys who came in late had limited options. 

 It was super duper fun to see what they came up with.

Here are a couple of dads who directed the marshmallow shooter mania. 

 I made sure there was a sharpie for the boys to label their own gun, along with some camouflage duck tape for decorating.
Throughout the party, the boys had a blast running around pelting each other with our marshmallow ammunition.
The chocolate bombs (whoppers) and rescue ropes (Twizzlers)  received rave reviews as well.  In fact, I was surprised at their cute reactions to the labels.  Apparently candy bars aren't just for the girls!
Following the marshmallow shooter construction, The boys went on a search and rescue mission to recover some lost soldiers.  We had pre-hidden some army dudes in the front yard that they had to go find. 

 It was even better than an Easter egg hunt because they blended in with the grass.  Our lawn mower will probably find a couple this spring.
Yep, those kids are running around in shorts and T-shirts in January.  Just one of the advantages of southern living.

Once those army dudes were recovered, each boy was awarded with official dog tags.  Actually, I just used a sharpie to write in their names.  But, they thought it was pretty cool anyway.  I even saw a kids wearing his dog tags to church the next day.
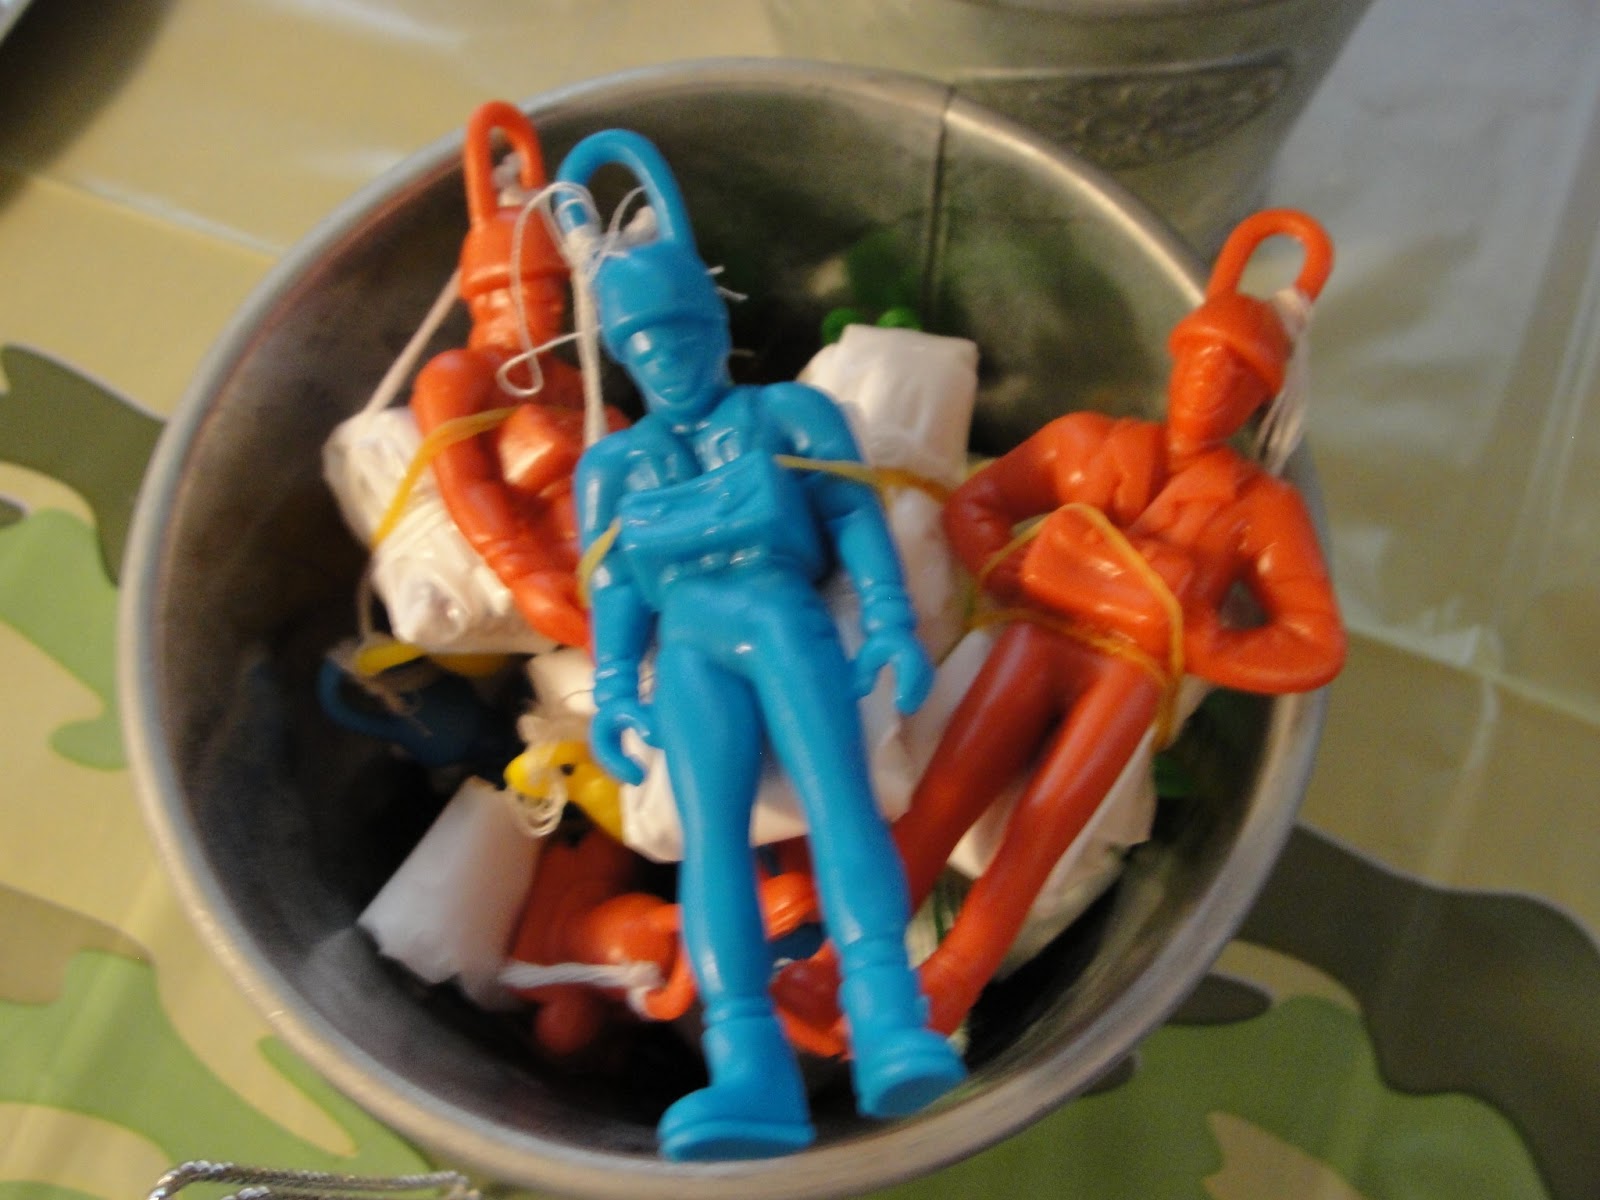
Then came the paratroopers.

We have a scary cool opening upstairs in our loft that makes the perfect parachute launching platform.

 These were closely following by flying airplanes.  Here they are in their packages.  The boys got to build their own.
I don't have any great, non-blurry pictures of the airplane flying.  But this is what our stairs looked like.  They sure got their work-out in with all their running up and down.

One of the little airplanes is resting on the table, if you look closely.


Those crazy boys needed a couple of water breaks.  Fortunately, we had lots of water bottles.


Then they munched on army guy cupcakes.


I tried to make camouflage frosting.  It sorta worked.
I made the boys eat on our driveway since our table was preoccupied with being cute and full of party goods.


 The cupcakes were well received.

 Birthday boy with his buddies.


I asked him to pose for Grandma and this is what I got.
Sorry Grandma.

After some present opening and a lot more marshmallow shooting, the boys left with a sack of treasures.
I gave them each a bag of extra ammunition (marshmallows), some army guys and airplanes.  I have since been blamed for marshmallow all over my friend's houses.  Sorry bout that.

Originally, I had planned an obstacle course too.  But three days of rain made for a very muddy backyard and it was easier to just skip it.

We had a blast all the same.

linking up to Tater Tots and Jello
Photobucket

Another project bites the dust

 I'm listening to my kids playing DJ hero in the background.  They're mixing the tune, "Another one Bites the Dust".  Subliminal messages creeping into my post title.  Anyhow, I did get to check another project off my to do list last week.  It felt awesome since it had been on the list for almost an entire year.  


It all came about when last spring I asked my seven year old what he wanted his room to look like in our new house.  We had a little planning session.  Some of his ideas got vetoed due to complexity (he's a very creative soul).  However one idea he had that I wanted to run with was to have a giant map of the world in his room.  The kid loves maps!  He gets  more excited at amusement parks about the map he gets to carry around then the rides or food.  And if we enter a bookstore, he zooms towards the atlases.  


I adored the whole map idea.  First of all, we are talking CHEAP artwork!  And secondly, very educational.  I'd love my children to be more globally minded and what better way to start  than with a global picture :)  So, the next time we went to the bookstore, I bought the giant map in the atlas section ($10 - not bad).  But, that's where my enthusiasm slowed down.  The project got pushed to the back of my list and even though every few weeks my sweet boy would ask about it, I didn't deliver.  Finally, I got motivated and made that map happen.


Here's a simple tutorial for anyone who wants to add this to their own home.


First I measured the outside of the map and bought enough molding at home depot to cut a frame.  When measuring, don't forget that you'll need enough to account for the angled cuts at the corners.  So, add the width of the molding times two and the width of the map together to get the total width of molding you need (of course you have to do that for all four sides to get a complete length needed).  It's always a good rule of thumb to over buy a bit in case you make a mistake.  


Then I used my miter saw to cut the four pieces of molding to make up my frame.  My best framing tip is to measure and cut one side out, and then use that already cut piece to trace the next side out.  This works better than measuring them separately because they always end up being off slightly.  When building a frame, the two sides opposite each other need to be exact mirror images of each other or the frame will not line up correctly and you'll end up with gaps in your corners.


I tried to adjoin the corners of my large-ish frame using a plate joiner - otherwise known as a biscuit cutter.  However, the molding I chose was not thick enough for my plate joiner (thank goodness for wood filler).  So, instead I did the best I could with glue and staples on the back.  This made for a rather flimsy frame so, in the end I ended up just screwing the frame directly into the wall around the map.  I was trying to avoid this so it could be easily moved but, that ended up being the best option.  I was too afraid of it being knocked down while my boys used the bed as a wrestling arena.


I spray painted the frame to match my son's headboard.  But spray paint definitely isn't the only option.  I chose Krylon brand (found it at Lowes) satin spray paint in navy blue.  It required a couple coats.


Before bringing the frame inside, I taped the map directly to the wall making sure it was centered and level.


Then, my son helped me carry it upstairs and held it steady while I used a drill to attach it into place.


Here it is hung up with the bed actually made.  Woohoo! (that remark was for both the completed map and the neat bed)

Goal!!!!!

Soccer season always keeps us on our toes.  I love to see my boys out there on the field, giggling while they chase the ball.  But, I'm often equally excited for the busy Saturdays to be over.  For our final game, my son was assigned the snack.  I wanted it to be a little extra special for their farewell efforts.  This idea came to me while making pumpkin sugar cookies last week.

They're made out of round sugar cookies, butter cream frosting, and chocolate chips.  Bet you're wondering how the chocolate chips transformed into that.  Well, I stuck a handful in a ziplock bag for 30 seconds.  Smooshed them around and then another 30 seconds of microwaving.  Then I snipped off a little corner and piped it on.  I used a soccer ball clipart image to help me with the vision.

They're weren't perfect but looked pretty much like soccer balls, so I felt successful.  The little soccer players sure weren't complaining!

Head Board Tutorial

9 years ago, I was living in my first apartment as a married gal.  My new living space led to a new favorite show, TLC's Trading Spaces.  I must have watched every episode those first few seasons.  I learned all kinds if tricks, including how to create a headboard in about a hundred different ways.  Well, my taste in decorating has evolved, but the headboard phenominon, must have stuck with me cause I recently got the urge to transform a garage sale headboard.
Here's my garage sale find.  Not bad, but not quite what I was looking for either.

First, I filled in the back with some plywood.  I had to use a couple of pieces cut to size and then attached it with furniture nails.

Then I filled in some of the cracks and imperfections with wood filler and sanded it down a bit.
Following that, I sprayed it up with primer and a coat of navy satin paint. 

After that first coat of paint, it became clear to me that the plywood was still a little rough, so I did some more sanding.  I wanted it to look as smooth as the original wood slats.

A couple more coats were required to complete the coverage.  I had to go buy two more cans of the navy spray paint.  I guess no project's complete without a couple extra trips to the hardware store.

Here's the headboard in it's new room. 

Boy's Star Wars Room

Just like my last post said, we've been transforming our boy's bedroom into a Star Wars meca.  Here's a few more pictures of our progress. 

You'll notice a heavy usage of vinyl decals.  I geuss I just can't help myself.

The walls were painted two shades of blue from Valspar's Signature collection (Lowes).  The darker shade is called Fly-by-night blue and the lighter is School Boy Blue.  I seperated the two with a simple molding and then applied white vinyl stars and ships.
I'll be posting a set of star decals for purchase on my Etsy shop soon in case anyone else needs a starry night bedroom.
Here's a detail of some of the ships.  Liam has been sitting in that top bunk having make-believe battles with his ships all week long.

One final picture.  Those hanging frames with R2D2- and Yoda sillouettes are my favorite.  And yes, I used vinyl decals. 
I'd still like to find/make some matching quilts for the beds and maybe do some modular storage.  There's an empty wall I didn't show you that is hinting to me that it needs a little something.  I geuss a home is never 100% completed. 

May the Force Be With you

With three little boys in the house, we currently have some serious Star Wars worship going on.  It cracks me up how much my kids get into characters from a movie that came out the year I was born. 

Since moving into our house last December, we've been starring at a lot of white walls.  I've been working to change that in one little corner of our house for a couple of weeks.  Here's a little taste of the boy's new Star Wars Room

This decal bids farewell to all who leave the room. 

Man, kids rooms are so much fun to work on.  A little creativity, and  unconventionality along with thrifty budgets can all coexist wonderfully when working on these projects.