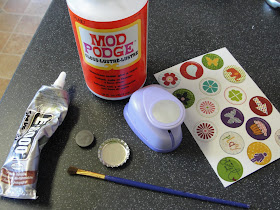
I think the bottle cap magnets were the crowd favorite craft at girl's camp this year. Everyone was having such a hard time choosing just one to make. I think next year we might make a set eight that incorporate all the young women value colors. Cute idea right? Anyways, here's how we created these little pretties.
Bottle Cap Magnets
1. Using the 1” circle punch, punch the circle image you choose to use out of the photo paper. Be careful not to destroy any of the other images so others can use them. When punching, hold the punch upside down so you can see that you are punching in the correct spot.
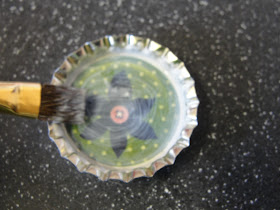
2. Now apply modge podge to the inside of a bottle cap using a small paint brush
3. Place your circle image inside the center of the bottle cap
4. Apply another layer of modge podge to the top of your image to make sure everything is sealed in.
5. After the modge podge has dried (this takes a few minutes) apply glossy accents inside the bottle cap, covering your image. You don’t need to fill the whole bottle cap up. In fact, we would prefer you don’t so we have enough glossy accents for everyone’s project.
6. Now squeeze a small amount of E-600 glue onto the back of a magnet and glue it to the back of your bottle cap. Don’t tip your bottle cap upside down while doing this or the glossy accents will run out. ***Make sure the magnetic side of the magnet is facing out so it will work as a magnet for your fridge or magnet board.
7. Find a safe place for it to dry. It will take about 24 hours.


I love the girl camp crafts! Great ideas! Did you print the bottle cap images or use scrapbooking paper, etc.? I'd like to find some cute images like those. Thanks!!
ReplyDelete